Burn a Data Disc wizard allows you to create a disc from files and folders. Burn a Data Disc wizard is a part of Disc Burn paid group.
To start burning, click  icon on the sidebar and perform the following steps:
-
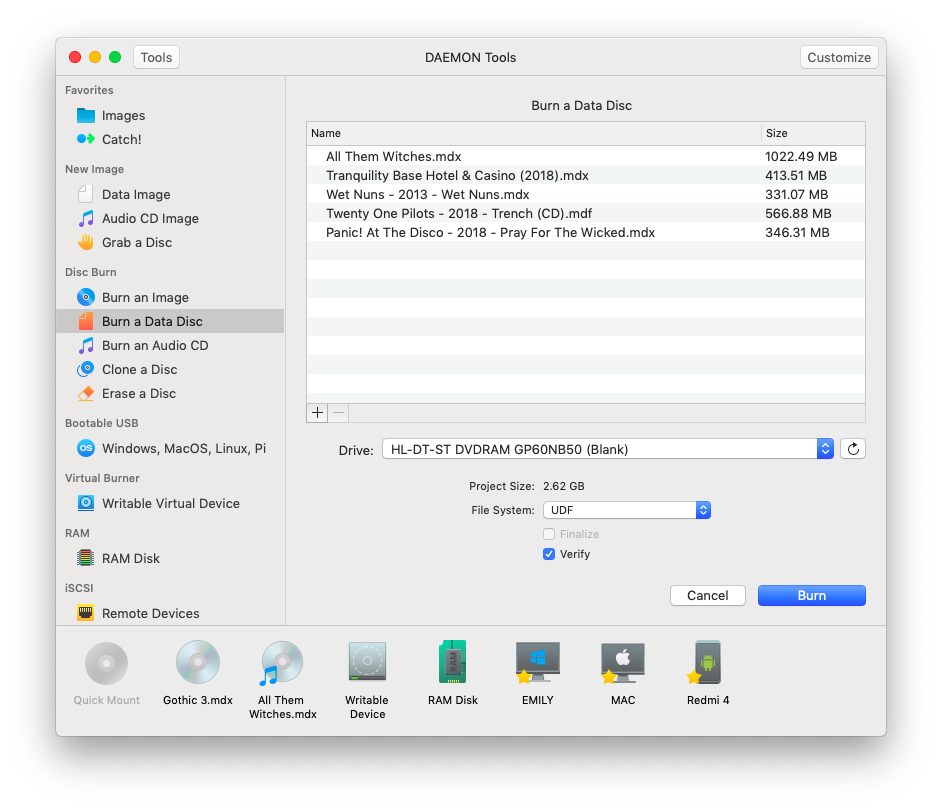
Fill the table with files that you want to burn: click the Add button in the lower left corner to add files. To delete the file from the table, choose the unneeded file and press Remove button that is next to Add button.
-
Insert a disc and then choose the Drive that you will use for burning. Press Refresh icon if the information about the drive is not updated.
-
Check the total size of selected files. Note, that if the overall size of chosen files is biggen than the capacity of an inserted disc, you will see a warning about Insufficient disc space.
-
Specify the file system — UDF or ISO9660 with Joilet.
-
Check Finalize option if you don’t want to burn additional data on this disc later.
-
Check Verify option to test disc after the burning process. Note that this process will take several minutes additionally.
-
Wait a few seconds while the disc is burning. You can follow the progress in the main window or from the icon in Dock menu. Once the task is finished, you will get a message in Notification Center.